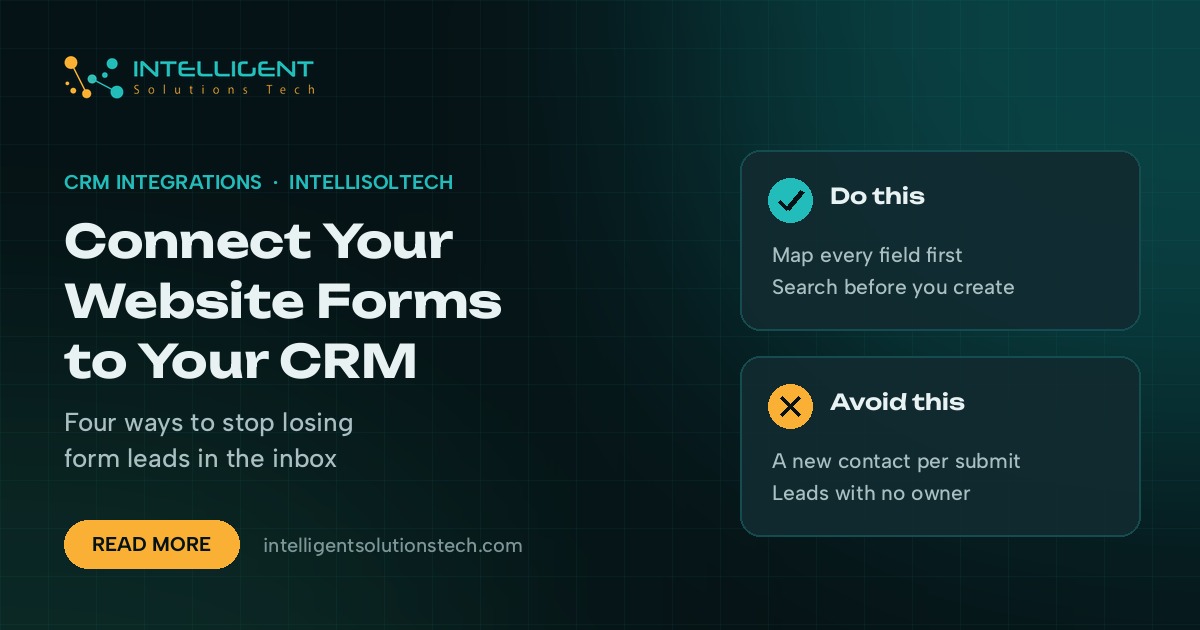
To connect website forms to your CRM, you need three things: a form that collects the right fields, a connector that carries each submission across, and a field map that tells the CRM where every answer belongs. Get those right and a lead typed into your contact page shows up as a contact, a deal and a task in your sales pipeline within seconds, with no one copying and pasting from an inbox.
A form-to-CRM connection is a small piece of plumbing that sends each form submission straight into your customer database as a structured record. It can be a plugin, an automation tool like Zapier or Make, or a short script that calls your CRM’s API. The method matters less than the rules you set around it: which fields map where, how duplicates are handled, and who gets alerted.
Below is the process we use when we wire forms into HubSpot, Pipedrive, Zoho, Salesforce or a custom CRM for clients in the US, UK and Australia. It works for a single contact form or a site with a dozen quote and booking forms.
Why form leads go missing
Most small businesses start the same way. The website form sends an email to a shared inbox, someone reads it, and if they remember, they add the person to the CRM. That works at five leads a week and breaks at fifty.
Here’s where leads slip through in that setup:
- The notification lands in spam or a filtered folder and nobody sees it for days.
- Two people both reply, or both assume the other one did.
- Details get retyped by hand, so phone numbers and email addresses end up wrong.
- There’s no record of which page or ad the lead came from, so you can’t tell what’s paying off.
- Follow-up depends on memory instead of a task with a due date.
Sending submissions straight into the CRM fixes all five. The email notification can stay as a backup, but the CRM becomes the place where every lead lives and gets worked.
Four ways to connect website forms to your CRM
There’s no single right method. The best choice depends on which form tool your site runs, which CRM you use, and how much logic you need between the two.
1. Use your CRM’s own form
HubSpot, Zoho CRM, Pipedrive and most other CRMs let you build a form inside the CRM and embed it on your site with a snippet of code. Submissions go straight into the right object with no middle layer. This is the simplest route if you’re happy with the CRM’s form designer and don’t need complex conditional logic.
The trade-off is control. Embedded forms can be harder to style so they match your site, and they may load extra scripts that slow the page down.
2. Use a form plugin add-on
If your site runs WordPress, form builders such as Gravity Forms and WPForms sell add-ons that send entries to popular CRMs. You keep the form you already have and choose which field goes where from a settings screen. For a single site with one CRM, this is often the fastest and cheapest path.
Watch for two limits. Add-ons usually cover common fields and objects only, and they tie you to that plugin. If you switch form tools later, you rebuild the connection.
3. Use an automation platform
Zapier, Make and n8n sit between the form and the CRM. The form triggers a workflow, usually through a webhook or a native app trigger, and the workflow creates or updates the CRM record. This is where you can add logic: look up an existing contact first, format phone numbers, assign an owner by region, post a message to Slack, and create a follow-up task.
We use this route most often because it’s visible and easy to change. Our Zapier automation work usually starts with exactly this kind of workflow.
4. Call the CRM’s API directly
For custom-built sites, high-volume forms, or a CRM that the tools above don’t support well, a short server-side script can post each submission to the CRM’s API. It’s the most flexible option and has no per-task fees, but it needs a developer to build it and someone to maintain it when the CRM changes its API.
| Method | Best for | Watch out for |
|---|---|---|
| CRM’s own form | Simple sites, one CRM | Styling limits, extra scripts |
| Form plugin add-on | WordPress sites with one CRM | Limited field and object support |
| Automation platform | Routing, lookups, alerts | Task limits and monthly fees |
| Direct API call | Custom sites, high volume | Needs a developer to maintain |
Map every field before you build anything
Most broken form connections fail on the field map. The connector itself is rarely the problem. Before you touch Zapier or a plugin, open a spreadsheet and list each form field next to the CRM property it should fill.
- Name. Decide whether the form asks for first and last name separately. Most CRMs store them apart, and splitting a single “Full name” field later is messy.
- Email and phone. Make email required if you use it to match existing contacts. Store phone numbers in one consistent format with the country code, which matters when you sell into several countries.
- Company. Decide whether a company record gets created or matched, and on what key, such as the email domain.
- Service or interest. Use a dropdown with values that match a CRM property exactly. Free-text answers can’t drive routing.
- Message. Store it as a note or activity on the contact so it shows up in the timeline.
- Source data. Capture hidden fields for the page URL, referrer and UTM parameters. This is how you’ll know which channel produced the lead.
- Consent. If you’ll email the lead later, store the consent checkbox value and the wording they agreed to.
If a dropdown on the form says “Website design” and the CRM option says “Web Design”, the field will either fail or land blank. Copy the CRM values into the form exactly.
Step-by-step setup
Whichever method you pick, the build follows the same order.
- Clean up the CRM first. Create the properties you mapped, set up a pipeline stage for new web leads, and decide who owns them by default.
- Fix the form. Add the hidden source fields, switch free-text fields to dropdowns where routing depends on them, and add spam protection.
- Build the connection. Set up the plugin add-on, embed, automation or API call using the field map.
- Search before you create. Look up the contact by email first. Update the existing record if one exists, and create a new one only if it doesn’t.
- Create the follow-up. Open a deal or a task with a due date and assign it to an owner, so a person is responsible for the next step.
- Alert the owner. Send a Slack message, Teams message or email that links straight to the CRM record.
- Log failures. Turn on error alerts in your automation tool, or write failed submissions to a sheet, so a broken connection never loses a lead silently.
Handle duplicates, spam and consent
These three issues cause most of the clean-up work we see on existing setups, so plan for them up front.
Duplicates. People fill in forms more than once, from different pages and sometimes with a different email. Match on email as the primary key, then decide what should happen to fields that already have a value. A good default is to fill blanks and leave existing values alone, while logging the new submission as an activity.
Spam. Bots love contact forms. Add Google reCAPTCHA, Cloudflare Turnstile or a honeypot field, and add a filter step that drops submissions with obvious junk, such as links in the name field. Spam that reaches the CRM pollutes your reports and wastes your team’s time.
Consent. If you serve leads in the EU or UK, GDPR and related email rules mean you need a lawful basis, usually consent, before adding someone to marketing email. Store the checkbox value, the date and the form it came from. Don’t add people to marketing lists unless they ticked the box. Sales follow-up on an inquiry they sent you is a different matter from adding them to a newsletter, so keep those two separate in the CRM.
Test it like a lead would
Don’t trust a connection until you’ve broken it on purpose. Run these tests on the live form before you switch off the old email-only process:
- Submit as a brand-new contact and check every mapped field in the CRM.
- Submit again with the same email and confirm it updates the record instead of creating a duplicate.
- Submit from a URL with UTM parameters and confirm the source fields fill in.
- Leave optional fields blank and confirm nothing errors out.
- Use an international phone number and a name with an accent or apostrophe.
- Check that the owner gets the alert and the task shows the right due date.
- Temporarily break the connection, for example by revoking the API key, and confirm someone gets an error alert.
What to automate once leads land in the CRM
Once submissions arrive as clean records, the CRM can do much more of the follow-up for you. The usual next steps are:
- Instant reply. Send a short, personal-sounding confirmation email that sets expectations for when you’ll be in touch.
- Routing. Assign leads by service, region or deal size, so the right person sees them first.
- Scoring. Rank leads by fit and intent so your team calls the best ones first. Our post on lead qualification automation walks through how we set this up.
- Reminders. Create follow-up tasks that escalate if a lead hasn’t been contacted within a set window.
- Reporting. Build a weekly view of leads by source and stage, so you can see which pages and campaigns produce paying customers.
Common mistakes to avoid
- Connecting the form before the CRM properties exist, which leaves data in the wrong fields.
- Creating a new contact on every submission, which fills the CRM with duplicates.
- Leaving no owner on new leads, so nobody feels responsible for the follow-up.
- Turning off the email backup before the connection has been tested for a few weeks.
- Forgetting the other forms on the site, such as the newsletter signup, quote request or careers page.
Get help wiring your forms to your CRM
If you’d rather hand this off, our API and automation team maps your forms, builds the connection in Zapier, Make, n8n or code, and tests it against the checklist above before anything goes live. If your current CRM doesn’t fit how you sell, we also build custom CRMs and can route leads with lead qualification automation. Every project starts with a free audit, then a written proposal with a fixed scope and price.